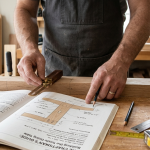

Every successful woodworking project starts long before the first cut is made. Behind every sturdy table, clean cabinet, or custom shelf, there is a clear plan guiding the entire process. This is where woodworking plans come in, helping transform ideas into structured and achievable results through well-prepared woodworking plans.
For many beginners, these plans can feel overwhelming. They often include technical drawings, measurements, symbols, and instructions that are not immediately easy to understand. As a result, some people skip planning altogether and jump straight into building—only to face costly mistakes later, even though proper woodworking plans could have prevented those issues.
In reality, taking time to understand a proper blueprint is what separates a frustrating project from a smooth and satisfying one. Once you learn how to read and interpret these documents, everything becomes more predictable and efficient, especially when working with clear woodworking plans that guide each step.
Even more valuable is the ability to design your own plan. When you reach that level, you are no longer limited by existing designs. You can build furniture that fits your exact needs, space, and style, using customized woodworking plans tailored to your goals.
This guide will walk you through everything step by step—from understanding basic elements to creating your own detailed layout—so you can build with clarity and confidence while mastering woodworking plans effectively.
Understanding the Basics of a Woodworking Plan
A woodworking plan is essentially a detailed guide that explains how a project should be built. It combines measurements, visual diagrams, and written steps to ensure that every part fits together correctly, which is the core purpose of well-structured woodworking plans.
Instead of guessing dimensions or cutting materials randomly, you follow a structured system. This not only improves accuracy but also saves time and reduces waste, making woodworking plans an essential part of any efficient workflow.
Most plans include several key elements: dimensions, material requirements, cutting instructions, and assembly steps. Some also include 3D diagrams or exploded views to make complex structures easier to understand, which is why detailed woodworking plans are so valuable.
Think of it like a roadmap. Without it, you may still reach your destination—but it will take longer, and you are more likely to get lost along the way, something that proper woodworking plans help you avoid.
Why Planning Matters in Woodworking
Skipping the planning stage might seem faster, but it almost always leads to problems. Small errors in measurement can compound quickly, causing parts not to align or fit properly, especially without reliable woodworking plans.
A well-prepared plan helps you avoid these issues by giving you a clear overview before you even touch your tools. You know exactly what materials are needed, how each piece should be cut, and in what order everything should be assembled when following woodworking plans.
Planning also helps control costs. Wood is not cheap, and mistakes often mean buying additional material. By working from a clear layout, you can optimize cuts and minimize waste, which is one of the main benefits of woodworking plans.
Another benefit is consistency. If you ever need to recreate the same project—such as producing multiple pieces for sale—a detailed plan ensures each one is identical, especially when you rely on standardized woodworking plans.
Key Elements You Need to Understand
Before you can confidently follow any design, you need to recognize its core components, particularly when working with woodworking plans.
Measurements and Dimensions
Measurements form the foundation of every project. They define the size and proportion of each component, from the overall structure down to the smallest detail, making accuracy critical in woodworking plans.
Always pay attention to the unit system being used. Mixing metric and imperial units is a common mistake that can ruin an entire build.
Material List
This section outlines all the materials required, including wood type, thickness, and quantity. Having a complete list before starting prevents unnecessary interruptions and ensures your woodworking plans are executed smoothly.
It also allows you to estimate costs and choose alternative materials if needed.
Cut List
A cut list breaks down the design into individual parts with exact sizes. This is extremely helpful during preparation, as you can cut everything in advance and label each piece, which is a key advantage of organized woodworking plans.
Doing this step properly makes the assembly process much smoother.
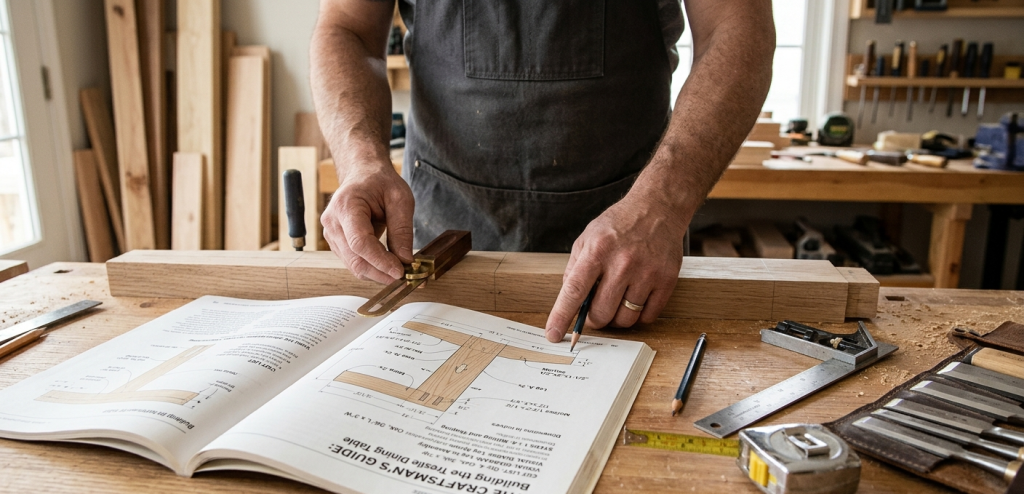
Visual Diagrams
Drawings are often the easiest way to understand how a project comes together. These may include front views, side views, and exploded diagrams that show how each part connects, which are essential components in woodworking plans.
If a written instruction feels unclear, the diagram usually provides the missing context.
Joinery Details
Joinery refers to how pieces of wood are connected. Different methods offer different levels of strength and visual appeal, and good woodworking plans clearly define these methods.
Common techniques include dowels, pocket screws, and traditional joints like mortise and tenon. Choosing the right one depends on the purpose of the project.
Assembly Steps
This section provides a step-by-step sequence for building the project. Following the correct order is essential, as assembling parts out of sequence can create complications later, even when using woodworking plans.
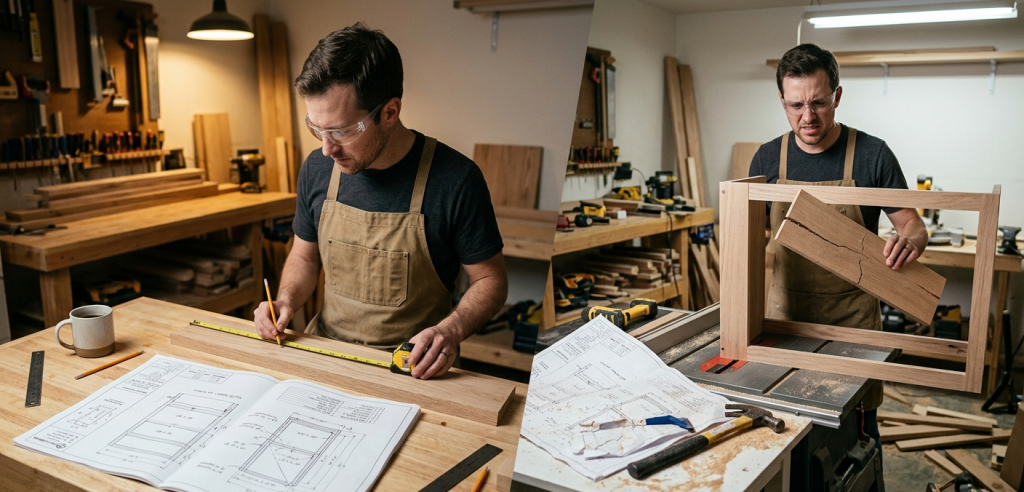
How to Read a Plan Effectively
Reading a plan is not just about looking at measurements—it’s about understanding how everything fits together as a whole, especially within woodworking plans.
Start by reviewing the entire document from beginning to end. This gives you a clear picture of the final result and the steps required to get there.
Next, focus on the dimensions. Double-check critical measurements and make sure you understand how each component relates to the others.
Then, study the diagrams carefully. Try to visualize the structure in your mind. This mental model will help you avoid confusion during the build.
Before cutting anything, prepare all materials based on the cut list. Label each piece clearly so you don’t mix them up later.
Finally, follow the instructions step by step. Even if you feel confident, skipping ahead can lead to mistakes that are difficult to fix, even when guided by woodworking plans.
Common Mistakes to Avoid
Even with a good plan, errors can still happen—especially for beginners working with woodworking plans.
One of the most common mistakes is misreading measurements. Always double-check before making any cuts.
Another issue is ignoring material thickness. Even a small difference can affect how parts fit together.
Skipping preparation is also risky. Cutting pieces on the fly instead of following a cut list often leads to inconsistency.
Finally, many people forget about saw kerf—the material removed by the blade. Accounting for this small detail can make a big difference in precision.
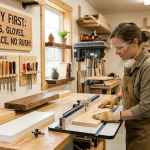
Essential Tools for Accuracy
Having the right tools makes it much easier to follow any design or execute woodworking plans correctly.
Measuring tools like a tape measure and square ensure accuracy. Cutting tools such as a circular saw or table saw help you shape materials precisely.
Clamps are essential during assembly, as they hold pieces in place while you secure them. A drill is also necessary for most joinery methods.
As you gain experience, you may explore advanced tools like routers or CNC machines, which allow for more detailed and complex work.
Creating Your Own Plan from Scratch
Designing your own plan is a major step forward in woodworking. It allows you to build exactly what you want, without relying on pre-made woodworking plans.
Start with a clear idea. Define the purpose, size, and style of your project.
Next, sketch your concept. This doesn’t have to be perfect—just enough to visualize the structure.
Then, add precise measurements. Accuracy is critical at this stage, as it affects every part of the build.
Break the design into individual components and create a detailed cut list. This helps you stay organized during preparation.
After that, decide how each piece will be connected. Choose joinery methods that match the strength and appearance you want.
Finally, write out the steps required to assemble everything. Clear instructions make the process smoother, even if you are the one who created them.
Using Digital Tools
Today, many woodworkers use software to design their projects. These tools make it easier to visualize ideas and adjust dimensions quickly, especially when creating woodworking plans.
SketchUp is a popular choice for beginners because it is easy to learn and supports 3D modeling. More advanced users may prefer software like Fusion 360 or AutoCAD for greater precision.
Digital tools also allow you to experiment without wasting materials, which is especially useful when refining a design.
Tips for Better Results
Keep your designs simple, especially when starting out. Complexity increases the chances of error.
Use standard material sizes whenever possible. This reduces cutting time and waste.
Plan for wood movement caused by humidity and temperature changes. Ignoring this can lead to warping or cracking over time.
Stay organized by labeling every piece clearly. This small habit can save a lot of time during assembly.
Beginner Projects to Practice
If you are just getting started, choose simple projects that help you build confidence while learning woodworking plans.
Shelves, small tables, and storage boxes are great options. They allow you to practice measuring, cutting, and assembling without too much complexity.
As you improve, you can gradually move on to more advanced builds like cabinets or custom furniture.
Moving to Advanced Projects
With experience, your ability to interpret and create plans will improve significantly, especially when working with woodworking plans.
You will start to design furniture tailored to specific spaces and needs. You may also develop standardized designs for repeated builds.
At a higher level, digital designs can be integrated with CNC machines, allowing for precise and automated production.
Conclusion
Learning how to understand and create woodworking plans is one of the most valuable skills in woodworking.
It gives you control over your projects, reduces mistakes, and helps you achieve better results. More importantly, it allows you to turn ideas into reality with confidence.
By practicing consistently, you will move from simply following instructions to designing and building your own creations. And once you reach that point, your possibilities become limitless.
Advanced Techniques for Interpreting Design Details
Once you are comfortable with basic layouts, the next step is learning how to interpret more complex design details. At this stage, woodworking plans are no longer just instructions—they become a communication tool between design and execution.
Advanced layouts often include sectional views, hidden lines, and detailed annotations. These elements help explain parts of the structure that are not visible from the outside. For example, internal joints or support systems are often shown using dashed lines or cross-sections.
Understanding these details allows you to anticipate challenges before they happen. Instead of reacting to problems during the build, you can prepare solutions in advance. This is one of the key differences between beginners and experienced craftsmen.
Another important skill is recognizing tolerances. Not every measurement needs to be exact to the millimeter. Some components require flexibility, especially in areas where wood movement may occur. High-quality woodworking plans usually account for this by allowing small margins where necessary.
Material Optimization Strategies
Efficient use of materials is a major factor in professional woodworking. Well-designed woodworking plans help you maximize every sheet of plywood or length of lumber.
One common strategy is nesting, where multiple parts are arranged in a way that minimizes waste. This is especially important when working with expensive materials such as hardwood.
Grain direction is another critical factor. Wood is not uniform, and its strength varies depending on the direction of the grain. Good woodworking plans indicate how each piece should be oriented to maintain structural integrity and visual consistency.
You should also consider defects in the material. Knots, cracks, or warping can affect the final result. When preparing your cuts, adjust your layout to avoid weak areas.
By combining these strategies, woodworking plans become more than just instructions—they become a tool for efficiency and cost control.
Understanding Joinery at a Deeper Level
Joinery is one of the most technical aspects of woodworking. While basic methods are easy to learn, mastering them requires a deeper understanding of structure and force distribution.
Different joints serve different purposes. Some are designed for strength, while others prioritize appearance. Advanced woodworking plans often include multiple joinery techniques within a single project, depending on the requirements of each section.
For example, load-bearing parts may use strong mechanical joints, while decorative elements rely on cleaner, hidden connections. This combination creates a balance between durability and aesthetics.
It is also important to consider how joints behave over time. Wood expands and contracts with changes in humidity, which can weaken certain connections. Well-designed woodworking plans take this into account by allowing slight movement where necessary.
Workflow Planning in the Workshop
A successful project is not just about design—it is also about execution. Planning your workflow can significantly improve efficiency and reduce errors.
Start by organizing your workspace. Keep tools and materials within easy reach, and ensure you have enough space to assemble large components.
Next, break the project into stages. Instead of trying to complete everything at once, focus on one phase at a time—cutting, sanding, assembling, and finishing.
Many experienced builders rely on structured woodworking plans to guide this workflow. By following a clear sequence, you reduce confusion and maintain consistency throughout the project.
Time management is also important. Some processes, such as glue drying or finishing, require waiting periods. Planning ahead ensures that these delays do not disrupt your progress.
Precision and Measurement Techniques
Accuracy is one of the most important factors in woodworking. Even small deviations can lead to noticeable imperfections.
To improve precision, always measure twice before cutting. This simple habit can prevent costly mistakes.
Using the right tools also makes a difference. A high-quality square ensures that your angles are correct, while a marking gauge helps create consistent lines.
When working with detailed woodworking plans, consistency is just as important as accuracy. Each part must match the others perfectly for the final assembly to work as intended.
Another useful technique is dry fitting. Before applying glue or fasteners, assemble the parts temporarily to check alignment. This allows you to identify and fix issues early.
Designing for Durability and Longevity
A well-built project should last for years, if not decades. This requires careful planning and thoughtful design choices.
Start by selecting the right type of wood. Hardwoods are generally more durable, while softwoods are easier to work with but may not be as strong.
Structural support is another key factor. Reinforcements such as braces or additional joints can improve stability. Many woodworking plans include these features to ensure long-term durability.
Finishing is equally important. Protective coatings help prevent moisture damage, scratches, and wear. Choosing the right finish depends on the intended use of the project.
By considering these factors early in the design process, woodworking plans can help you create projects that are both functional and long-lasting.
Customization and Personalization
One of the greatest advantages of woodworking is the ability to customize your projects. Instead of following a design exactly, you can modify it to suit your preferences.
This might include changing dimensions, adjusting proportions, or adding decorative elements. As you gain experience, you will become more comfortable making these modifications.
Many woodworkers start with existing woodworking plans and gradually adapt them to create unique designs. This approach allows you to learn while still maintaining a reliable structure.
Customization also adds value, especially if you are building items for clients or selling your work. Unique designs stand out and reflect your personal style.
Scaling from Hobby to Business
For some people, woodworking starts as a hobby and eventually becomes a source of income. At this stage, efficiency and consistency become even more important.
Standardized woodworking plans play a crucial role in this transition. They allow you to produce the same item multiple times with consistent quality.
Batch production is one strategy used by small businesses. By building multiple units at once, you reduce setup time and improve productivity.
Clear documentation is also essential. Detailed woodworking plans ensure that every project follows the same process, even if multiple people are involved.
As your operation grows, you may also invest in advanced tools or automation to increase output.
Integrating Technology into Woodworking
Technology continues to transform the woodworking industry. Digital tools make it easier to design, modify, and execute projects with high precision.
One major advancement is CNC machining. This technology allows you to convert woodworking plans into machine-readable instructions, enabling automated cutting and shaping.
Laser cutting and 3D modeling are also becoming more common. These tools expand the possibilities of design and allow for intricate details that would be difficult to achieve manually.
Even for traditional woodworkers, digital tools can enhance the planning process. They provide a way to test ideas and make adjustments before committing to physical materials.
Quality Control and Finishing Touches
The final stage of any project is quality control. This involves checking every detail to ensure that the finished product meets your standards.
Inspect all joints and connections to confirm they are secure. Look for gaps, misalignment, or surface imperfections.
Sanding is an essential step for achieving a smooth finish. Start with coarse grit and gradually move to finer grits for the best results.
Applying a finish not only enhances appearance but also protects the wood. Options include varnish, oil, and paint, each with its own advantages.
Even at this stage, referring back to woodworking plans can help ensure that nothing has been overlooked.
Continuous Improvement and Skill Development
Woodworking is a skill that improves over time. Each project teaches you something new, whether it’s a technique, a shortcut, or a lesson from a mistake.
Keeping a record of your work can be very helpful. Note what worked well and what could be improved. Over time, this information becomes a valuable resource.
Many experienced craftsmen refine their woodworking plans after each build. Small adjustments can lead to significant improvements in efficiency and quality.
Learning never stops. Whether you are experimenting with new materials or exploring advanced joinery, there is always room to grow.
Final Thoughts
At an advanced level, woodworking becomes more than just building—it becomes a process of design, problem-solving, and continuous refinement.
By developing a deeper understanding of woodworking plans, you gain the ability to approach projects with confidence and precision. You are no longer limited to following instructions; instead, you can create, adapt, and innovate.
This progression is what makes woodworking so rewarding. Every project is an opportunity to improve, experiment, and bring new ideas to life.